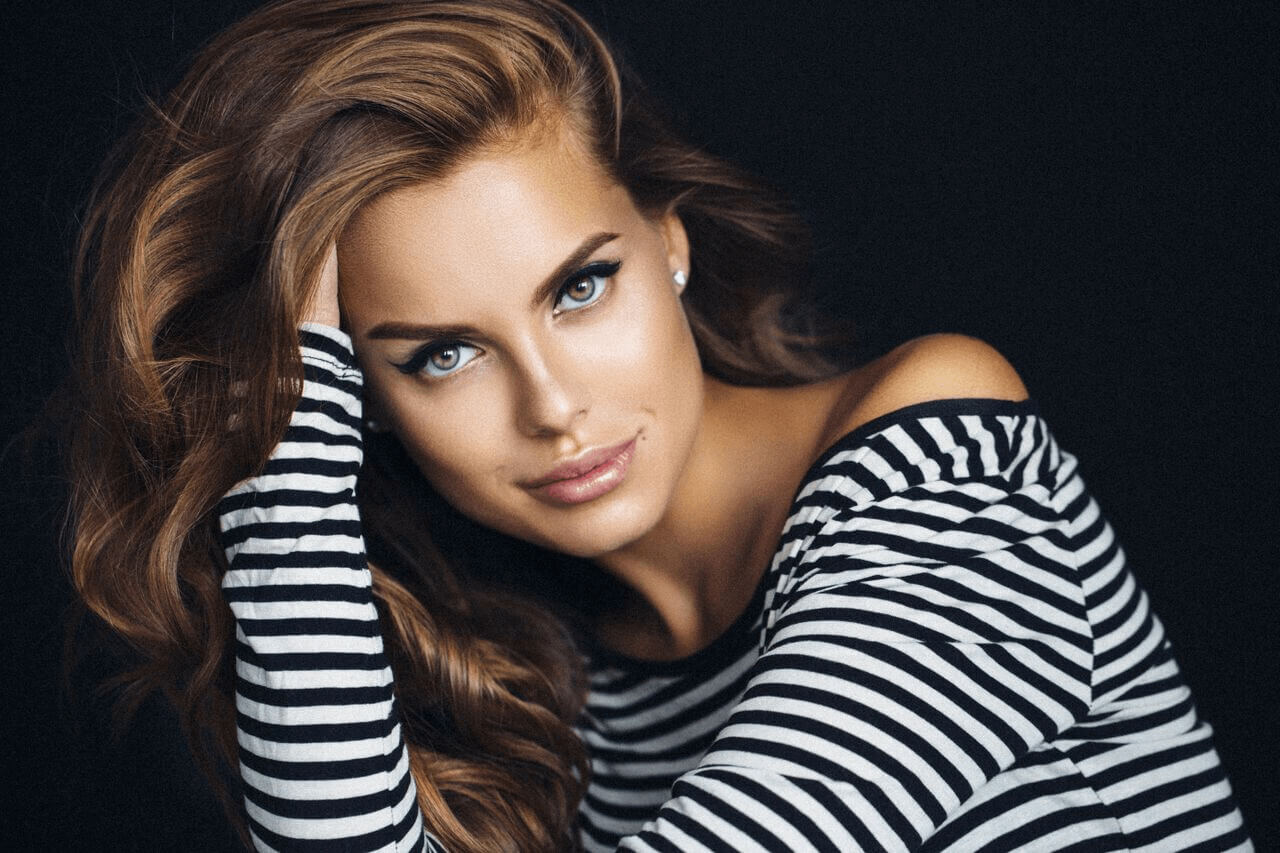

Five years ago, the facial defining technique known as “contouring” wasn’t a household name like it is today. Now, the phenomenon of highlighting and contouring has become part of almost every American woman’s beauty routine. But, like peanut butter and jelly, contouring should always be complemented with a luminous highlight.
As an industry leader for over 25 years, we here at Palladio Beauty know a thing or two (or ten!) about the magical art of enhancing your cheekbones with movie star lighting and gorgeous bone structure. We’ve even developed a step-by-step guide for those who might be new to the contour/highlight trend, although it could also be beneficial for those looking to switch up their technique!
Contouring and highlighting can be done for a more natural look or an amped up glam look. Today, we are outlining the steps for a more basic, natural contour and highlight tutorial.
Makeup Toolbox
- THE DEFINER Contour & Highlight Palette … $ 12.00
- Powder Finish Foundation (matches skin tone) … $10.00
- Blending Sponge … $6.00
Optional
- Setting Powder
- Blush
- Concealer & Powder Brush
Step 1
After you’ve washed and moisturized your face, apply your skin-matching foundation over the entire face with a foundation brush. For those with a darker skin tone, we suggest blending foundation down to the mid neck for a more blended look.
Step 2
Open up your DEFINER Contour and Highlight Palette and choose a highlight shade that is slightly lighter than your skin tone and apply this to:
- T-zone (which is above the eyebrows and in between them)
- Center of the nose
- Middle of upper lip
- Middle of the chin
- Under the eyes
- Cheekbones and above jawline
Step 3
Now it’s time to blend the highlight you’ve applied in Step 2. Begin blending with your blender sponge until your regular foundation and highlight are seamless.
Step 4
Now, it’s time to contour. Select a shade in the DEFINER Palette that is two shade darker than your regular foundation. This will be applied to:
- Sides of the nose
- Underneath the cheekbones
- The hairline
As in Step 3, blend the contour application so it's nicely combined with the highlight.
Step 5
To make sure all your hard work stays put, grab a large powder brush and cover the entire face with a setting powder. This will reduce any shine and is really effective for setting the look.
Step 6 (optional)
For a little more dimension and soft glow, apply blush to the cheeks, moving upwards towards the temples.
Please be aware this basic highlighting and contouring guide is for a natural, everyday look. All products used in this tutorial can be found on our website, along with many other products to create different looks suitable for every age and skin tone!
To learn more about contouring and highlighting, please also be sure to check out future posts!


Leave a comment (all fields required)